
How to Use nityam.ai
A step-by-step guide to searching for legal judgments, organizing them into dossiers, and building your case precedents.
1. Searching for Judgments
nityam.ai offers two ways to find relevant legal judgments: a structured Search or a conversational AI Assistant. Choose the method that best fits your workflow.
Choose a Search Method — Search Tab or Assistant Tab
The search page has two tabs at the top: Search and Assistant. The Search tab gives you three structured search modes — Keywords, Upload a Document, and Describe Your Case. The Assistant tab opens a conversational AI research assistant where you can ask questions in plain language, and the AI will search for judgments, summarize them, and even save relevant ones to your dossier — all within the chat.
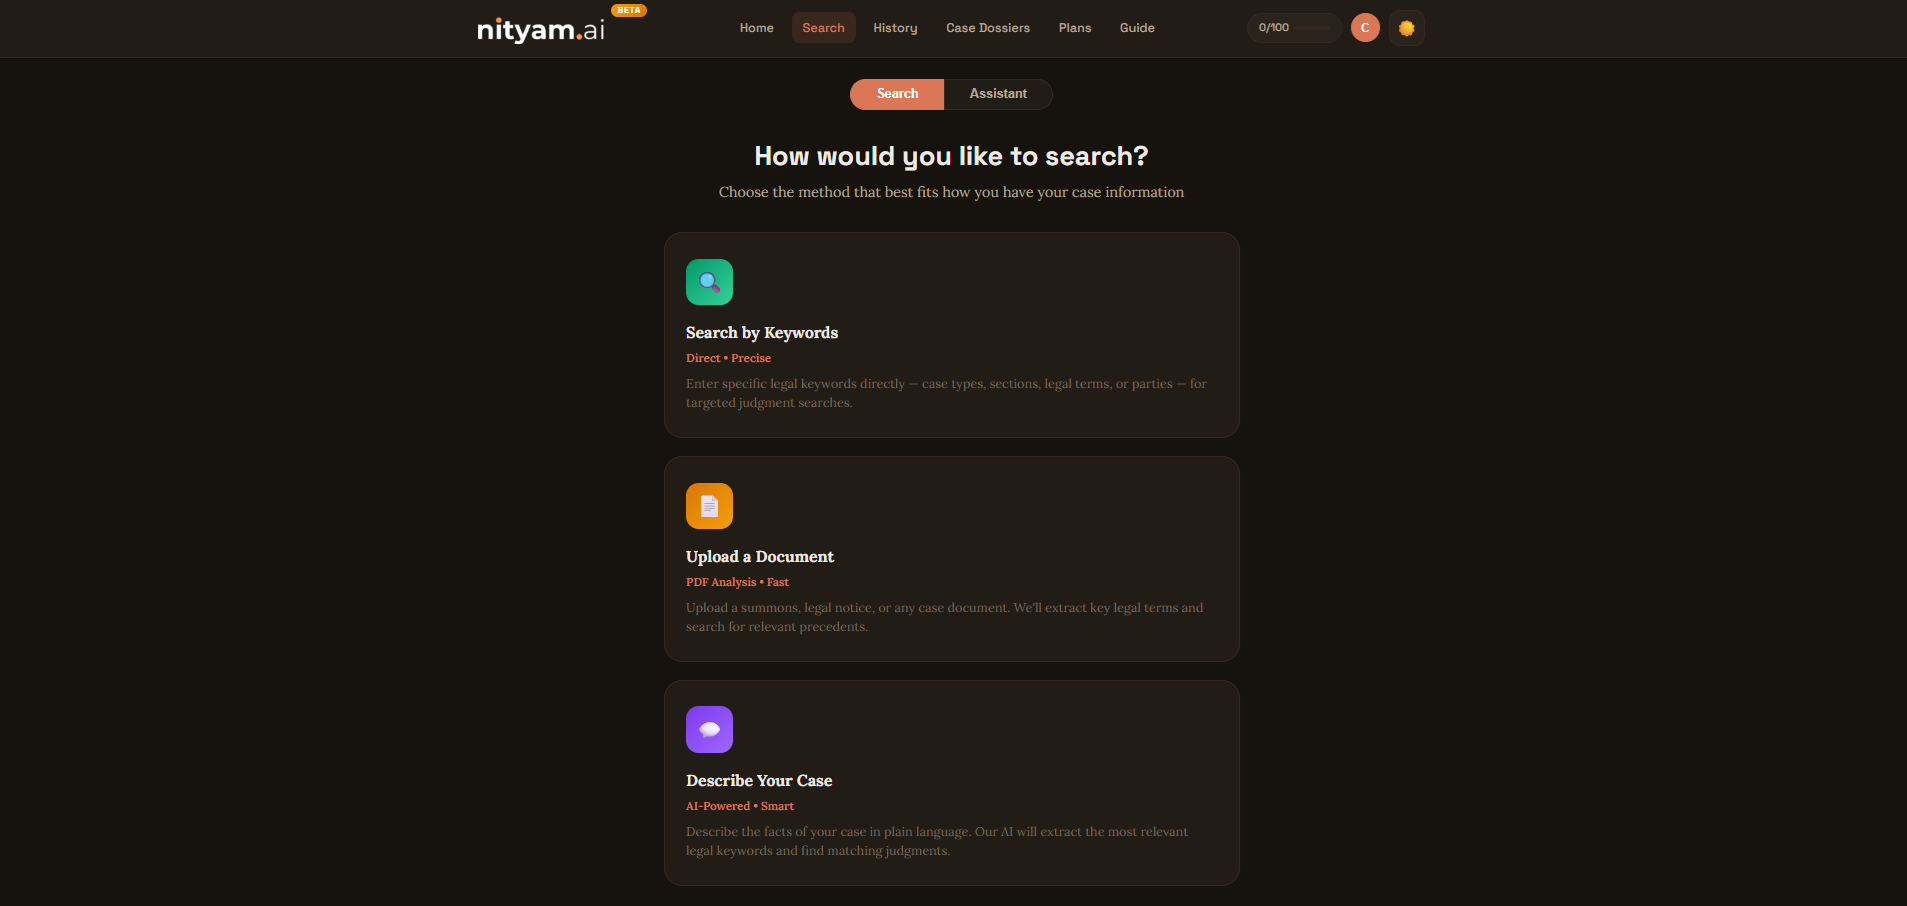
Screenshot: Search page showing Search and Assistant tabs
- Use the Search tab when you want direct control over keywords and filters.
- Use the Assistant tab to have a conversation — ask it to find cases, compare precedents, or explain legal concepts.
- The Assistant can search IndianKanoon, fetch and summarize judgments, and save cases to your dossier — just by asking.
- Try prompts like "Find anticipatory bail cases in Karnataka High Court" or "Search for Section 498A IPC judgments by Supreme Court".
- The Assistant remembers your conversation history across sessions so you can pick up where you left off.
Configure Search Filters
On the keyword search page, enter your legal keywords and optionally filter by court type (All Courts, Supreme Court, or High Courts) and word match (Any Words, All Words, or Exact Phrase). You can also narrow results by Jurisdiction — select the specific High Court state (e.g. Karnataka, Bombay, Delhi) to limit results to judgments from that court.

Screenshot: Keyword search form with court, word match, and jurisdiction filters
- Use "Exact Phrase" for more precise results when you know the exact legal term.
- Combine multiple keywords separated by spaces and use "Any Words" for broader results.
- "All Words" ensures every keyword appears in the judgment.
- Use Jurisdiction when you need results from a specific High Court — e.g. select "Karnataka" to find only Karnataka High Court judgments.
- Jurisdiction applies only when "High Courts" is selected as the court type.
2. Navigating Search Results
Results appear in a scrollable list with AI-powered summaries. The layout adapts for desktop and mobile.
Desktop: Split-Pane View
On desktop, results appear in a two-panel layout. The left panel lists all results — each card shows key metadata like the judge's name, citation count, date, and a question of law snippet so you can quickly assess relevance before opening. Each result also has a relevancy score to help you prioritize which judgments are most applicable to your search. The right panel shows the full AI summary when you click a result. You can drag the divider to resize panels.
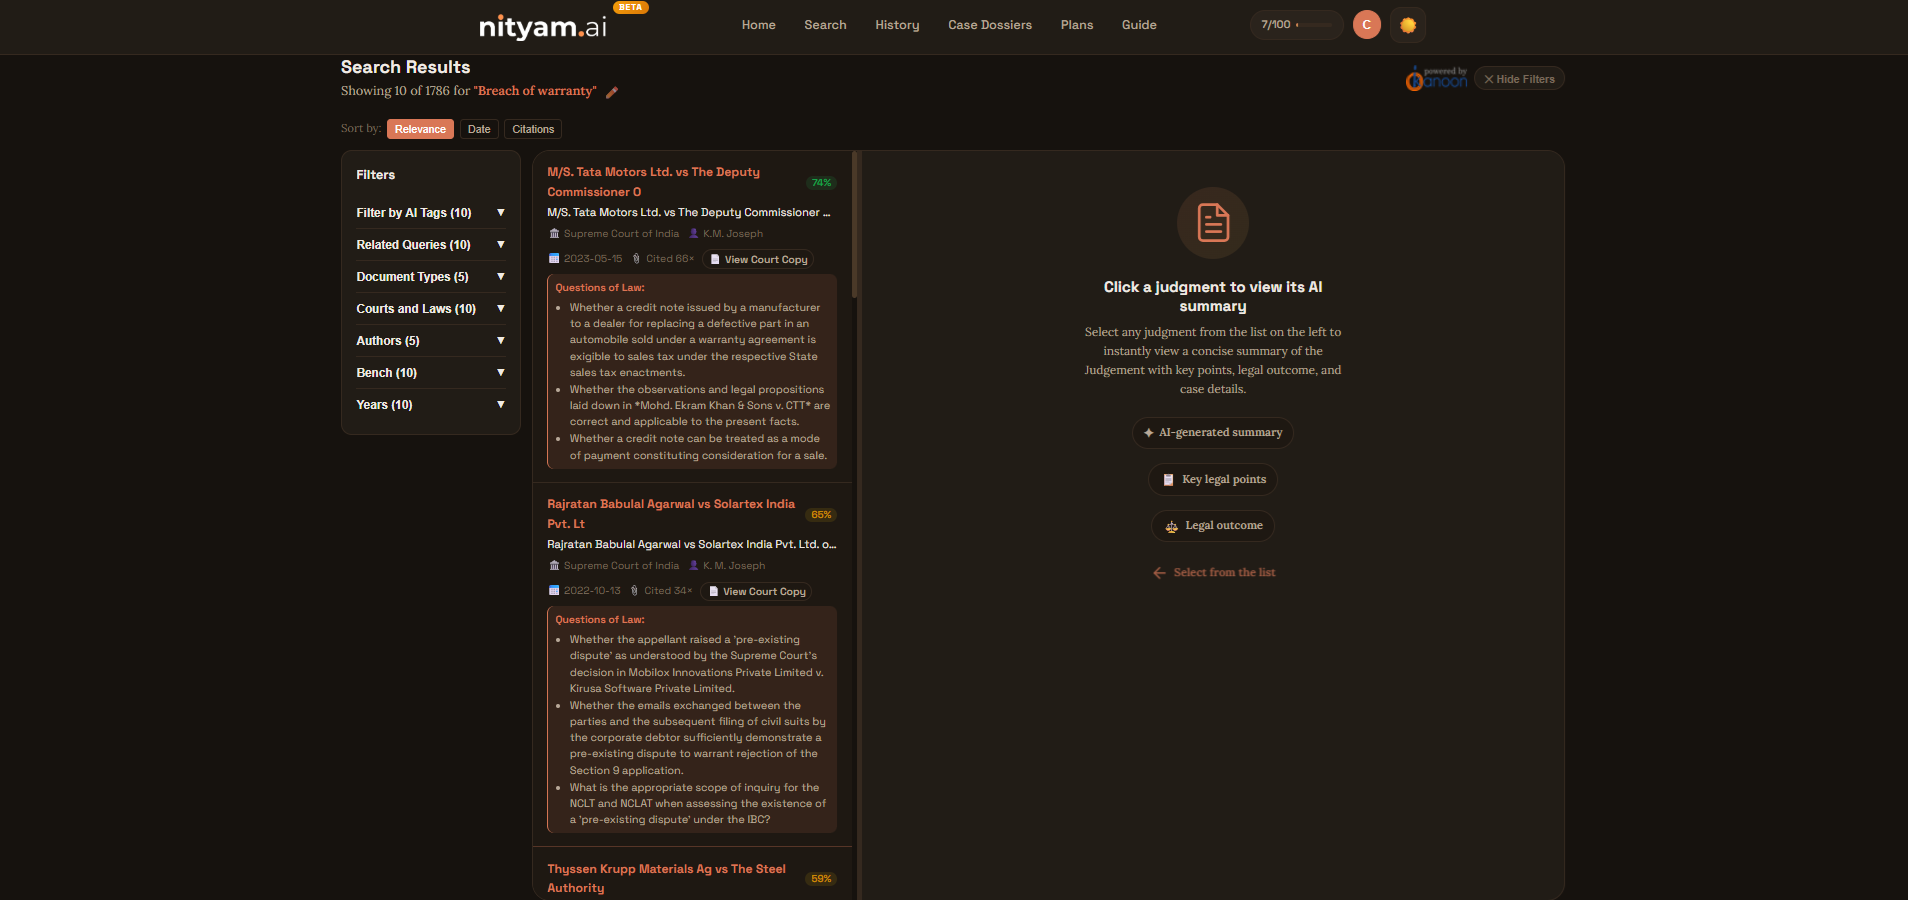
Screenshot: Desktop search results with split-pane view showing metadata cards on the left
- The top 5 results are automatically summarized — their AI summaries are ready before you even click.
- Click any result in the left pane to load its full AI summary in the right pane.
- Use the metadata cards on the left (judge, citations, date, question of law) to quickly decide which judgments are worth opening.
- The relevancy score gives you a quick signal of how closely a judgment matches your search.
- Use the resizable divider to adjust panel widths to your preference.
Mobile: Card View
On mobile, results appear as cards that you can tap to expand. Each card shows the case title, court, date, and a snippet. Tap a card to see the full judgment text and AI summary.
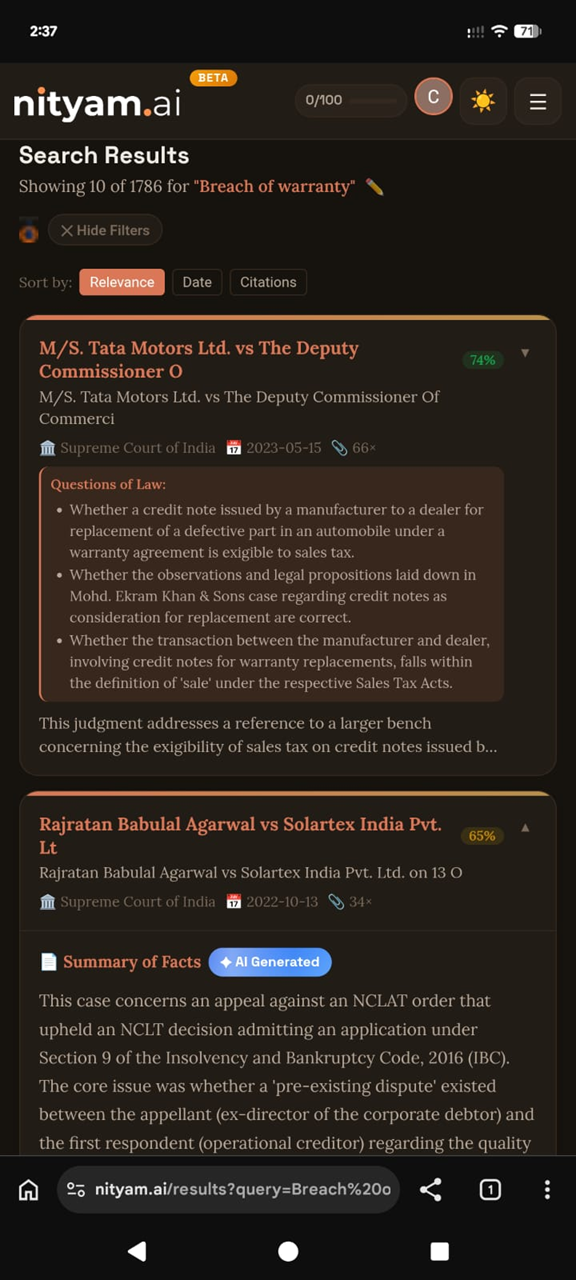
Screenshot: Mobile search results in card view
- Swipe down to see more results.
- AI summaries auto-expand on mobile for the top results.
AI Summaries
When you click on any judgment in the results list, the right pane shows an AI-generated summary of that judgment. The summary includes key facts, the questions of law the court addressed, the court's decision on each question, and the final outcome — saving you the time of reading a lengthy judgment to find the holding that matters.

Screenshot: AI-generated judgment summary in the right reading pane
- The top 5 search results are automatically summarized — no click needed.
- Summaries are cached so they load instantly on subsequent views.
- The Questions of Law table shows exactly what legal issues the court ruled on and how.
3. Adding Judgments to a Dossier
Save important judgments to organized case dossiers for later reference and analysis.
Save to a Dossier
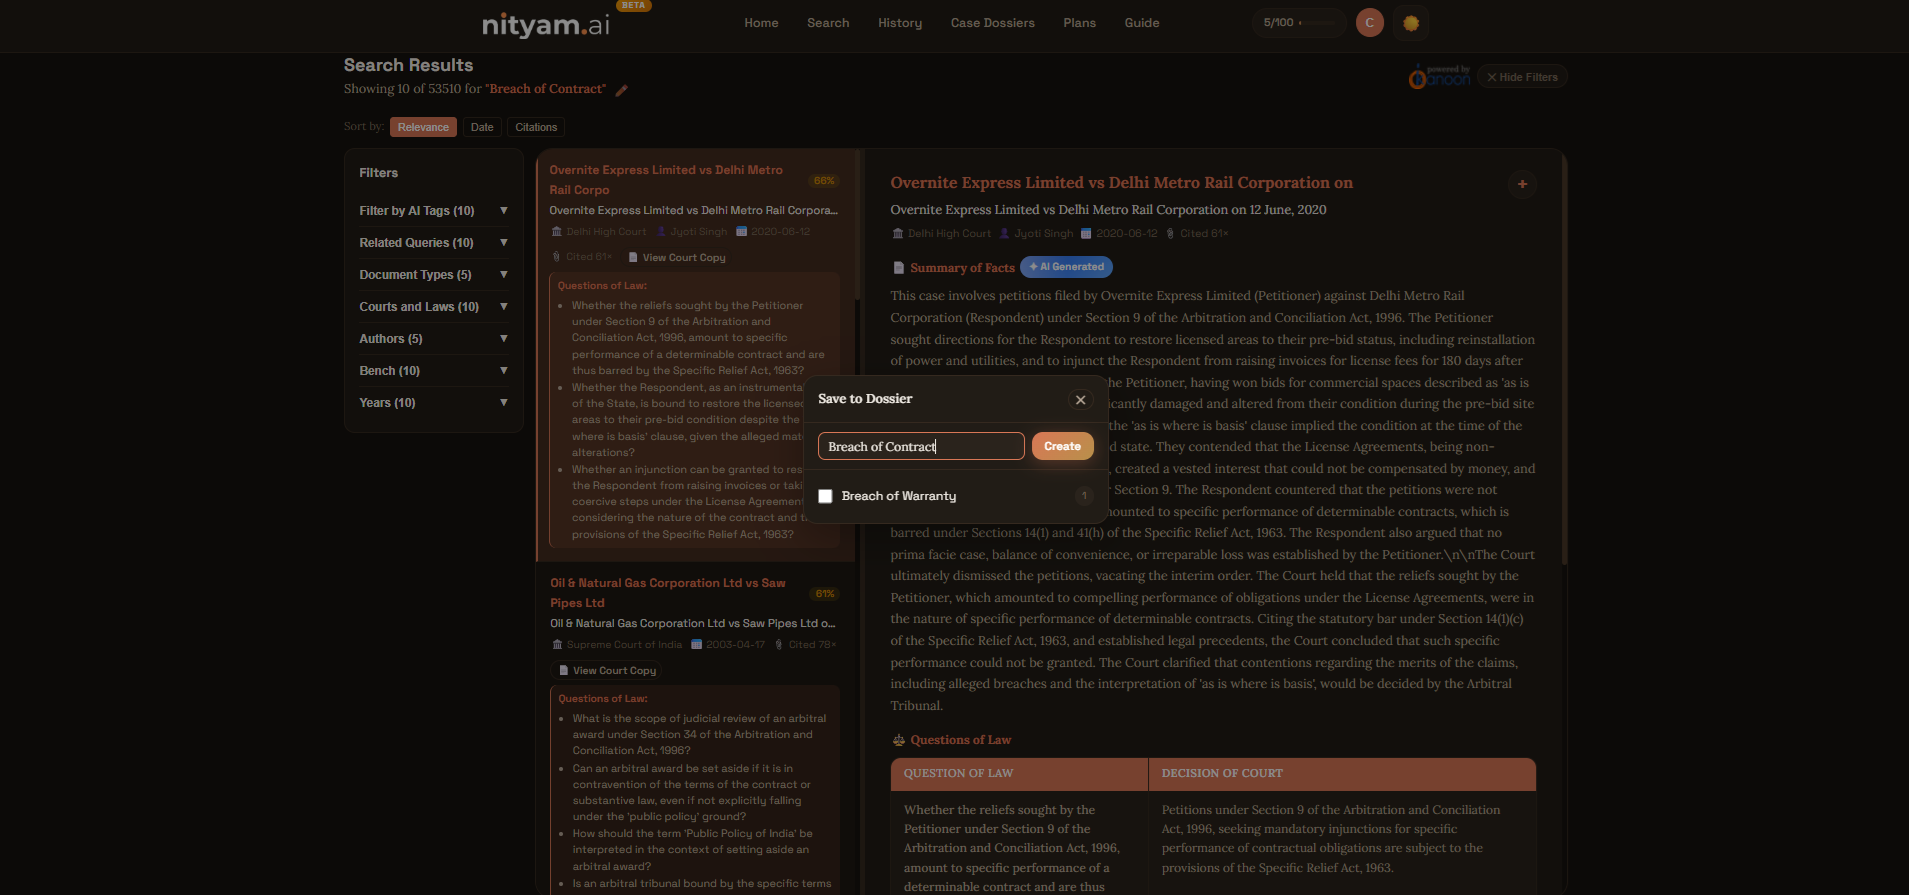
On any result, open it in the reading pane and click the "Add to Dossier +" button at the top of the pane. A popup appears showing your existing dossiers. Select one to instantly save the judgment to that dossier.
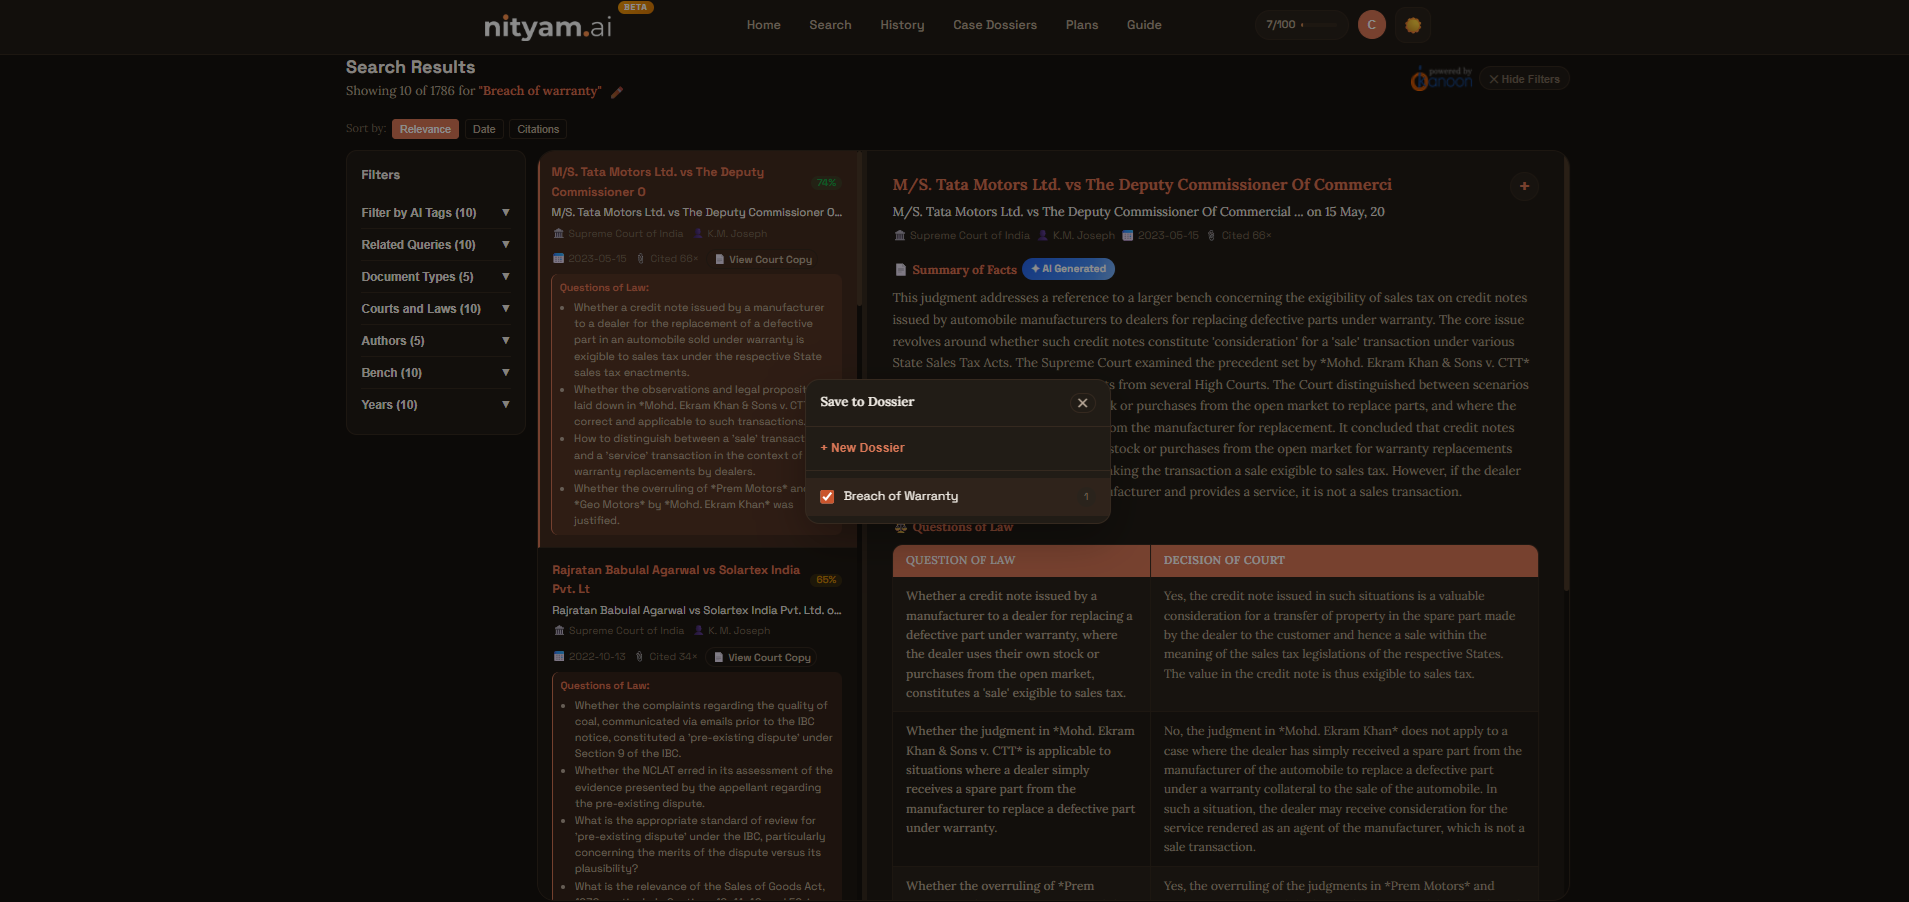
Screenshot: Dossier popup open on a search result
- Each judgment is saved with its AI summary so you don't lose context.
- You can add the same judgment to multiple dossiers.
- The popup shows your most recently used dossiers first.
Create a New Dossier
If you need a new dossier, click on "+ New Dossier" in the popup, type a name in the input field and click "Create". The judgment will be added to the newly created dossier immediately.
Screenshot: Creating a new dossier from the popup
- Name dossiers after your case or client for easy identification.
- New dossiers are immediately available across the app.
4. The Dossiers Page
Access all your saved dossiers from the "Case Dossiers" link in the navigation menu.
Browse Your Dossiers
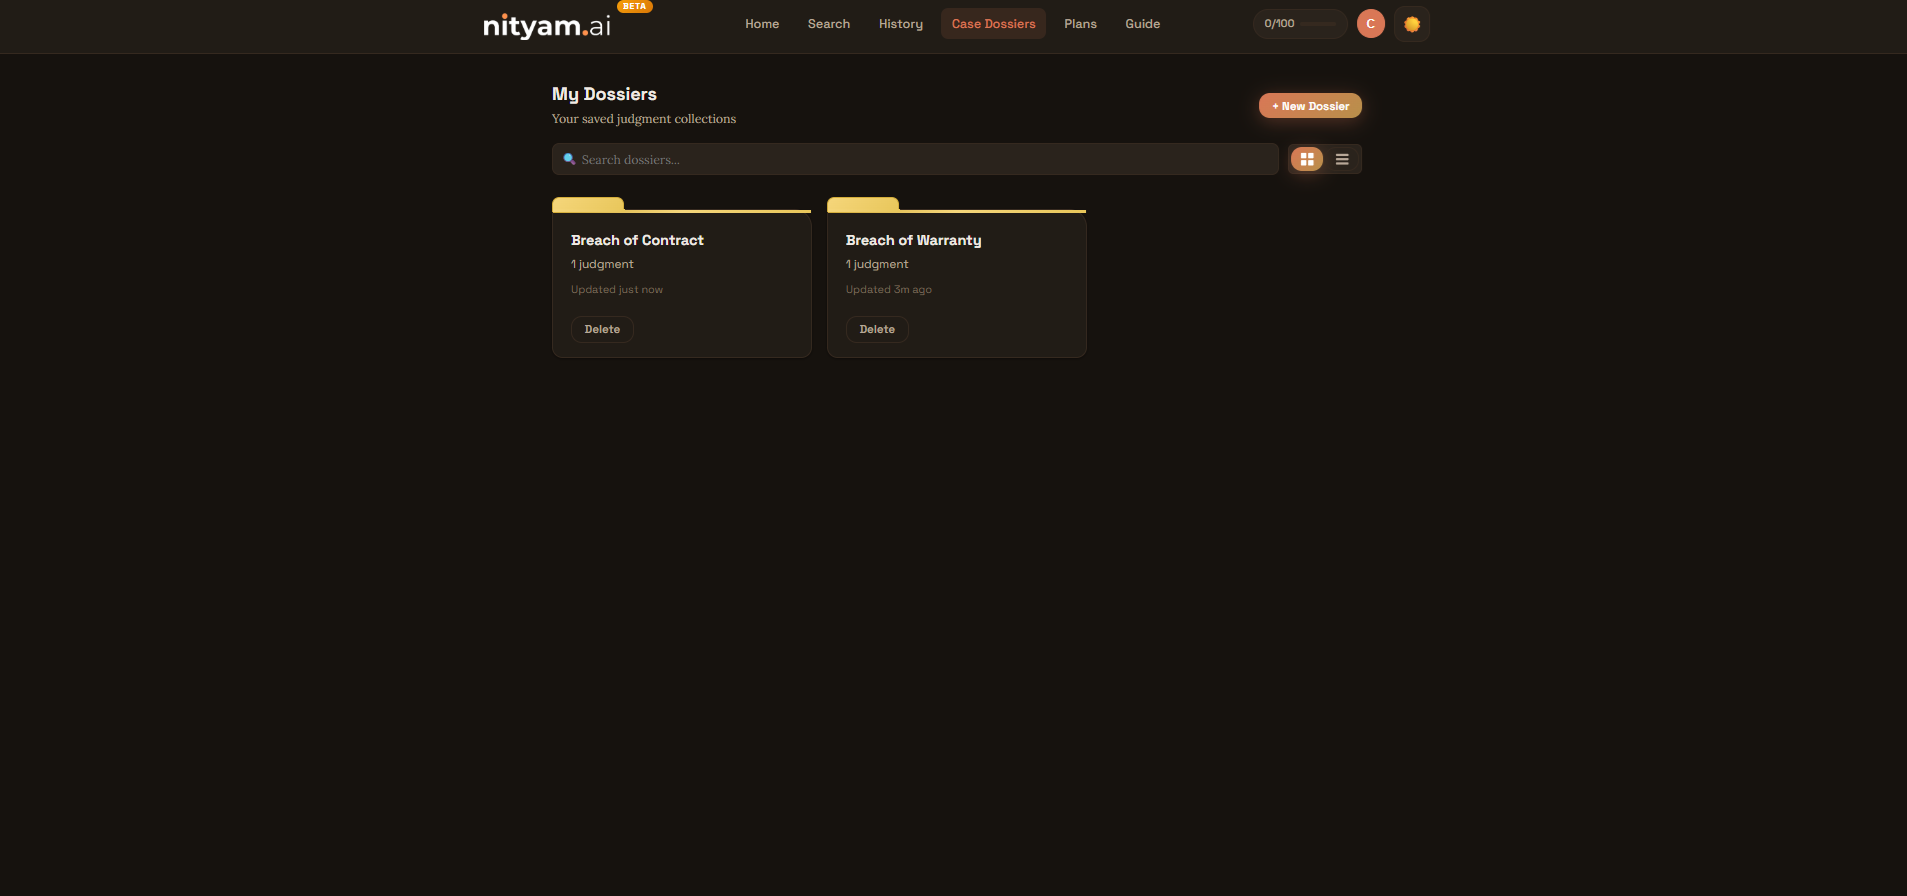
The Dossiers page lists all your created dossiers with the number of saved judgments in each. Click any dossier to open it and see its contents. You can switch between a grid view and a list view using the toggle in the top-right corner — grid view shows dossiers as cards for a visual overview, while list view shows them in a compact table.
Screenshot: Dossiers list page showing all created dossiers
- Dossiers are listed with the most recently updated first.
- Use grid view for a visual overview or list view for a compact summary.
- You can access Dossiers from the header navigation or the hamburger menu on mobile.
5. Inside a Dossier: Judgments, Court Copies & AI Summaries
Each dossier has tabs to organize your saved judgments, review court copies, take research notes, and manage precedents.
Case Dossier Summary & Review Judgments
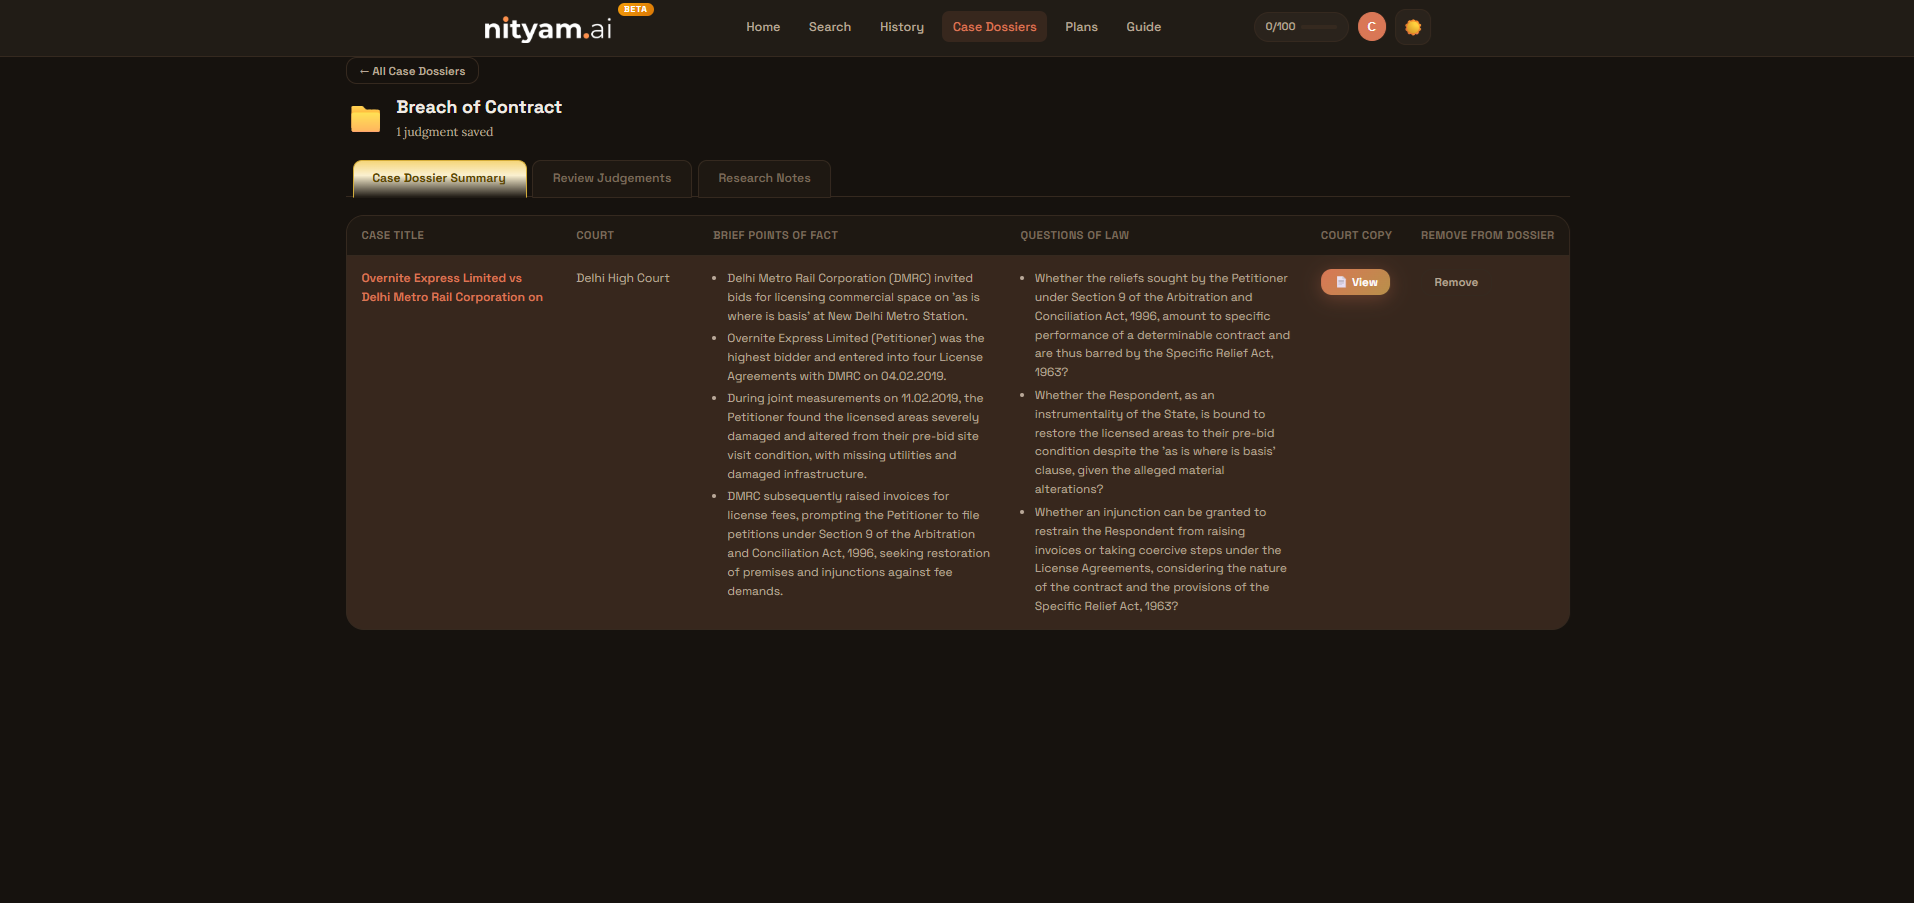
The first tab is the Case Dossier Summary (the default tab) which shows a high-level view of each judgment added to the current dossier with details like Case Title, Brief Points of Fact, and Question of Law. Here you can directly view the court copy and also remove a judgment from the current dossier. The second tab — Review Judgments — shows all saved judgments with the case title, court, date, and its AI summary in the reading pane. Click a judgment to view the full AI Summary text.
Screenshot: Dossier detail view showing Case Dossier Summary and Review Judgments tabs
- Use the Case Dossier Summary tab for a quick overview of all judgments at a glance.
- Switch to Review Judgments to read detailed AI summaries of each judgment.
- You can remove a judgment from the dossier if it's no longer relevant.
View Court Copy — PDF View & Text View
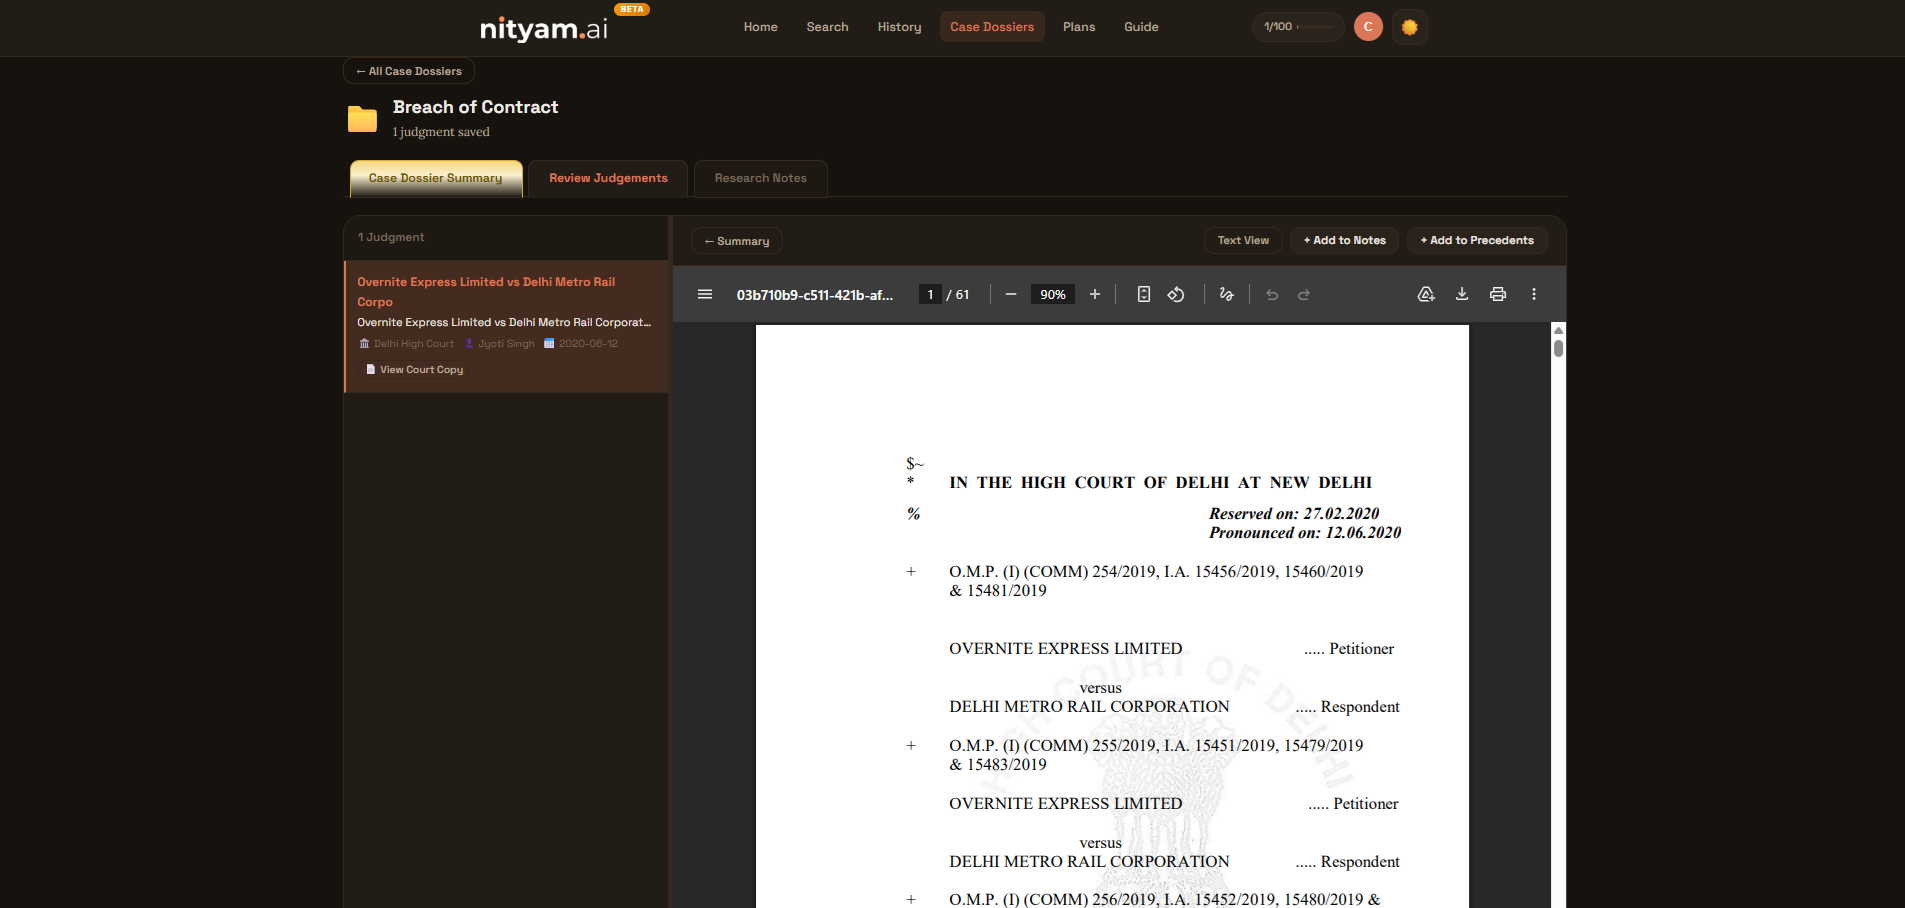
In the Review Judgments tab, click "View Court Copy" on any judgment to open the original court document directly in the reading pane. Court copies are typically displayed as PDFs. If you need to select and copy text from the judgment (e.g. to quote it in a note), click the "Text View" button in the toolbar — this loads a readable text version of the same document where you can highlight and select text freely.
Screenshot: Court copy viewer showing PDF View and Text View toggle
- Court copies are fetched from the original source for accuracy.
- Use PDF View for reading; switch to Text View when you want to select and quote specific passages.
- Text View is especially useful for taking research notes — select a passage, then click "+ Add to Notes".
Research Notes — Annotate While You Read
The Research Notes tab lets you keep running notes tied to the current dossier. When viewing a court copy in Text View, select any text passage and click the "+ Add to Notes" button in the toolbar — the selected text is automatically quoted, and you can add your annotation or commentary alongside it. This is ideal for capturing key observations, flagging relevant passages, or building arguments as you research. Adding a note from a court copy automatically adds that judgment to the Precedents folder.
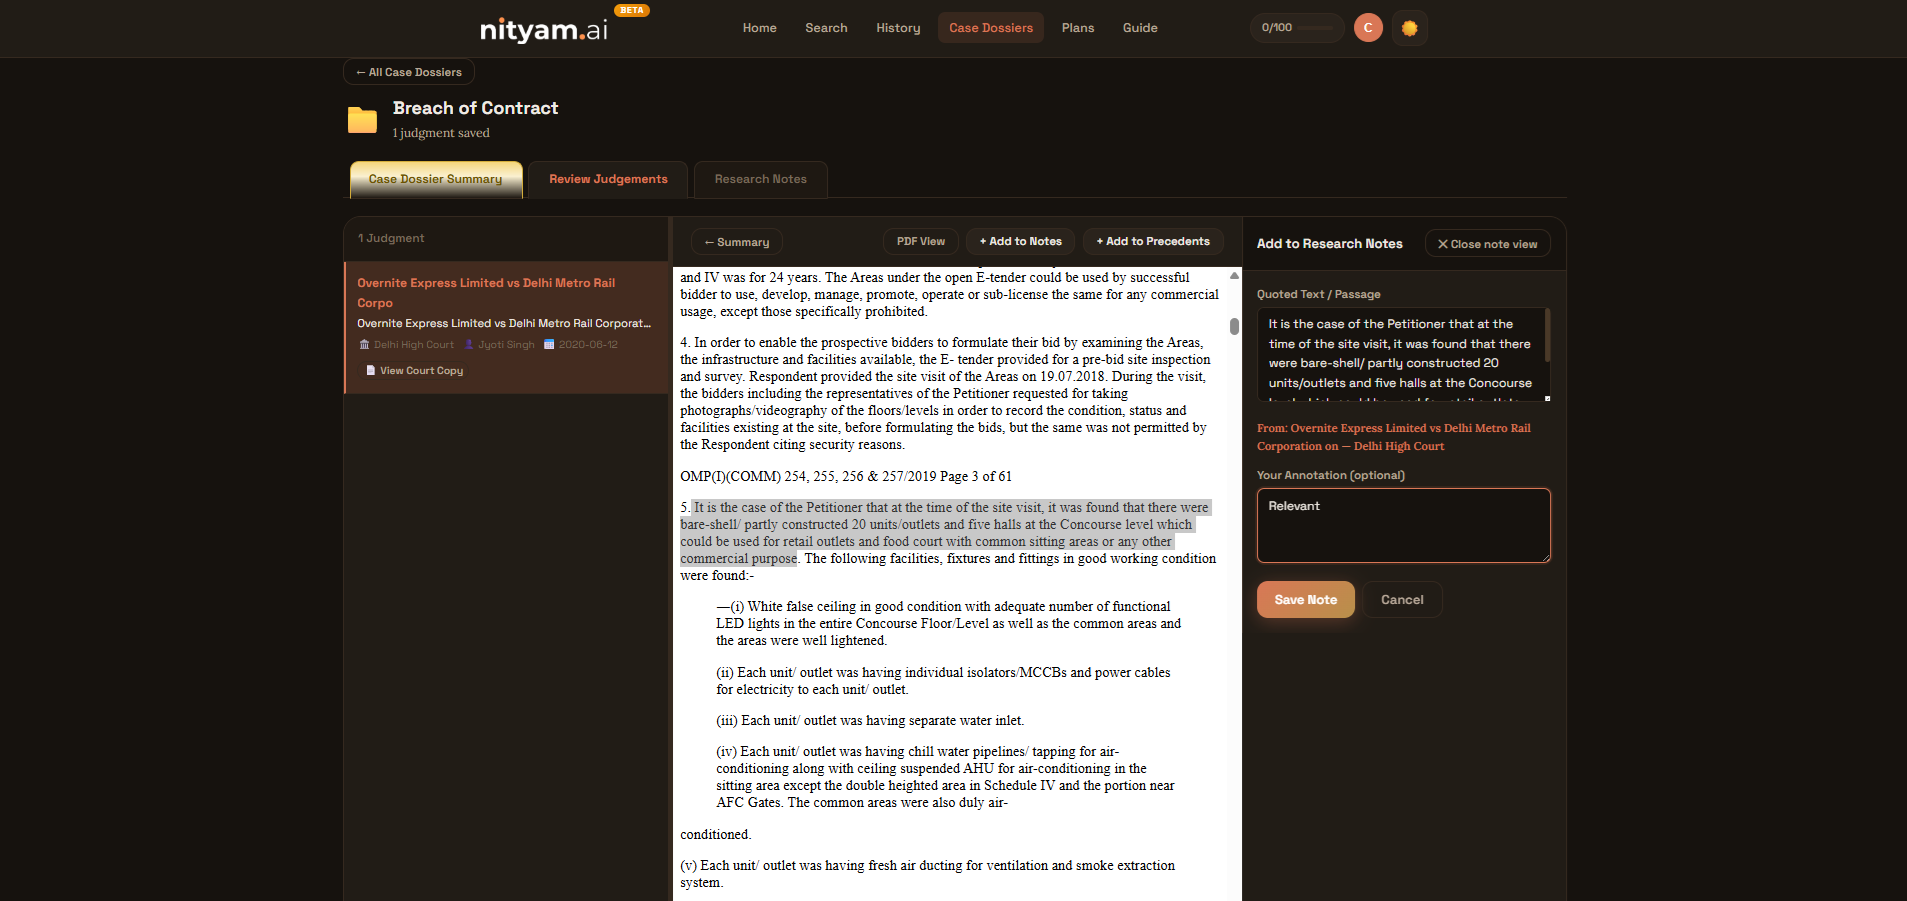
Screenshot: Research Notes tab showing an annotated quote from a court copy
- Switch to Text View before selecting text — text selection works best in Text View mode.
- For PDF View, copy the text first (Ctrl+C / Cmd+C) and then click "+ Add to Notes" — the copied text will be quoted automatically.
- Each note is linked to the judgment it came from, so you always know the source.
- Adding a note from a court copy automatically moves that judgment to your Precedents folder.
- Research Notes are included when you download your Precedents as a ZIP file.
Add Court Copy to Precedents
When you find a court copy of a judgment that serves as strong precedent, click "Add to Precedents" in the toolbar to save it to the Precedents folder. You can also remove it from Precedents using the same button. Note: adding a Research Note from a court copy automatically adds that judgment to Precedents as well.

Screenshot: Add to Precedents button in the court copy toolbar
- Precedents are the judgments you want to reference in your arguments.
- The button label toggles between "+ Add to Precedents" and "✓ Remove from Precedents".
- Any judgment you annotate via Research Notes is automatically added to Precedents.
6. Downloading Precedents as ZIP
Export all your curated precedent court copies — along with your research notes — as a single ZIP file for use in court filings or sharing with colleagues.
Download All Precedents
In the Precedents tab of any dossier, click the "Download All as ZIP" button. This downloads a ZIP file named "[Dossier Name] - Precedents.zip" containing all the court copy documents you've added to precedents, plus a Research Notes file if you've taken any notes for the dossier. Everything you need for your case preparation is bundled in one download.
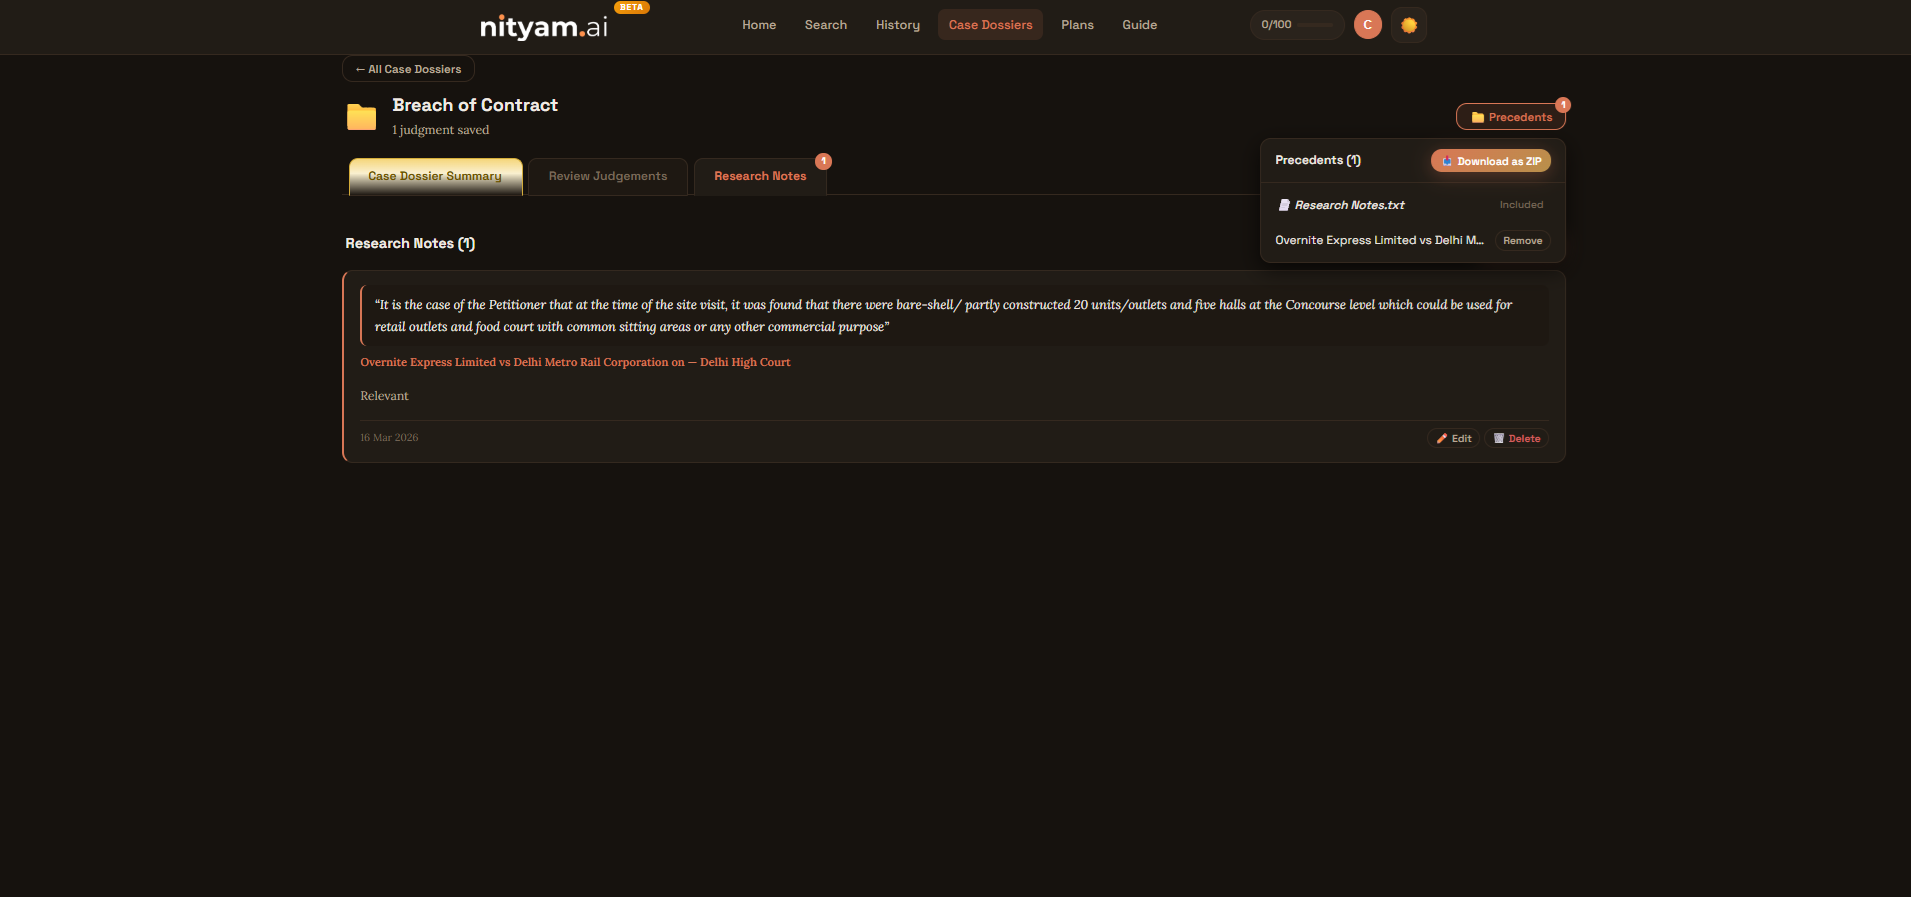
Screenshot: Download precedents as ZIP button in the Precedents tab
- The ZIP file contains each court copy as a separate document.
- File names include the case title for easy identification.
- If you have Research Notes, they are included as a separate file in the ZIP.
- Use this to quickly compile all supporting precedents and notes for a case.
Ready to Start?
Jump right in and start finding relevant legal judgments for your case.
Start Searching